
New feature: Video upload
Video Upload enables you to store and consolidate videos from other sources of customer research right on your UserTesting dashboard, so you can have them all in one place and can edit and share them just like your UserTesting videos.
Key features
Video Uploads enables you to:
- Upload MP4 videos from any source outside of UserTesting*
- Quickly and easily drag and drop files
- Create clips and highlight reels
- Read and search through automatically-generated Transcripts**
How it works
Step 1: Read and accept UserTesting's Acceptable Use Policy
Before uploading videos, you'll need to review and agree to the terms of UserTesting's Acceptable Use Policy.
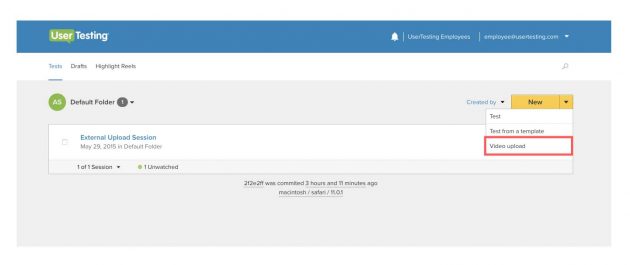
First, select the New dropdown from your dashboard, then select Video upload.
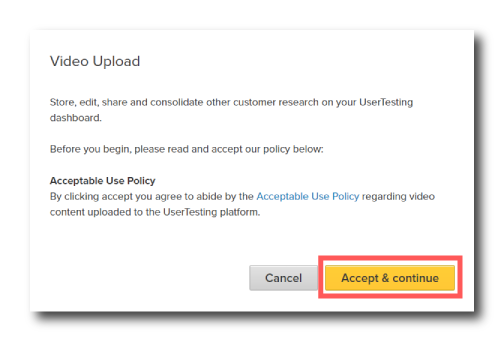
Next, you'll be asked to review and agree to UserTesting's Acceptable Use Policy. Once you've read and agreed to the policy, select Accept & continue.
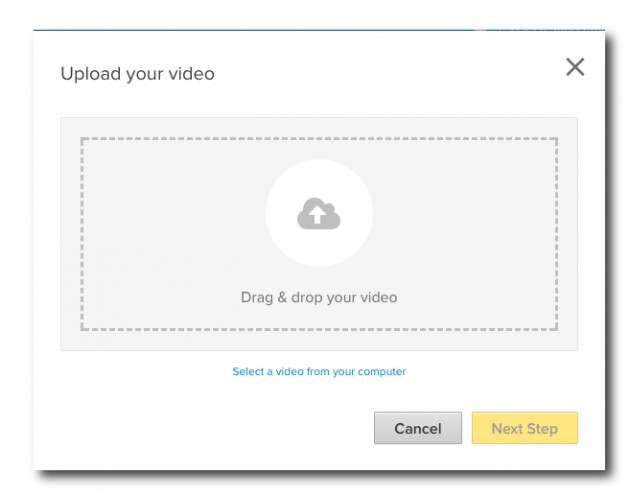
Step 2: Upload your videos
Next, you’ll be able to drag and drop or select your MP4 files for uploading. Note: If you add multiple videos at once, all will be organized under the same study on your dashboard.
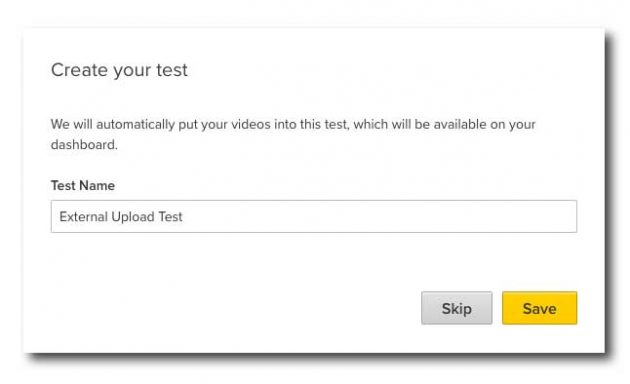
After you add your video, you’ll be asked to assign a study name for your video. This will help organize your videos on your dashboard. If you add multiple videos at once, they’ll be organized under the same study. Upload videos separately to organize them individually.
Next, you’ll receive an on-screen confirmation that your study has been created, including the title.
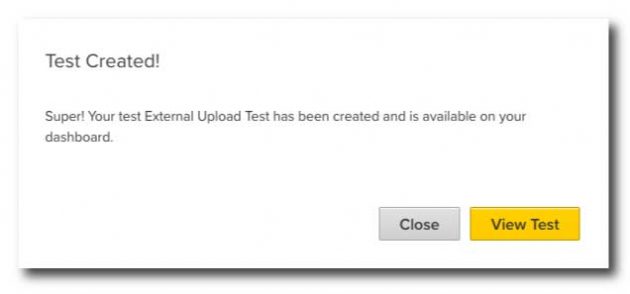
Once your videos have been uploaded and given a study name, you can either view your study by selecting View Test or select Close and return to your dashboard.
Step 3: Edit and share your videos
Once your videos are uploaded you’ll have the ability to view, edit, and share, just like with a UserTesting video. You can read through the transcripts*, create clips and highlight reels, and share videos with your team.
Step 5: Deleting videos
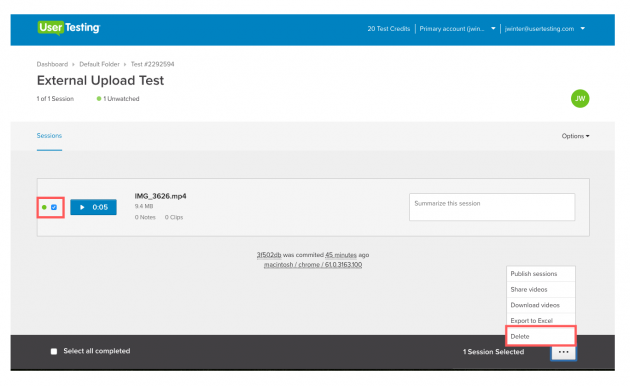
If you decide that you no longer need a video, or if you'd like to free up additional storage, you can easily delete videos from the single study view on your dashboard. After selecting the study where your video is stored, select the box next to the video, then select Delete from the menu at the bottom right of the screen.
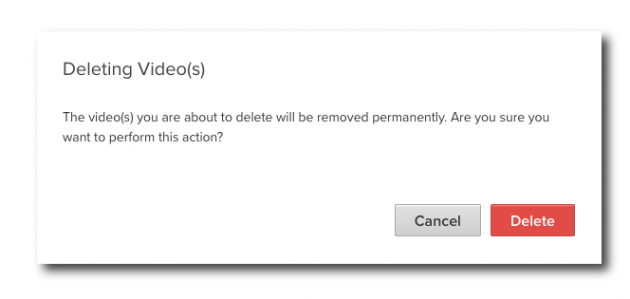
Please note, the video will be deleted from your entire team's account, so please be sure no one else on your team needs it before deleting. If you're sure you'd like to delete the video, select Delete and it will be permanently deleted from your team's account.
*Customers are given 1GB free storage. To purchase additional storage, contact your Customer Success Manager. **Customers with the Transcripts feature enabled will be able to perform these functions.
Let us know what you think!
We’d love to know what you think of the Video Upload feature, so give it a try and share your feedback with us by emailing support@usertesting.com.


